Brother Printer Accepts Generic Toner After Microchip Swap
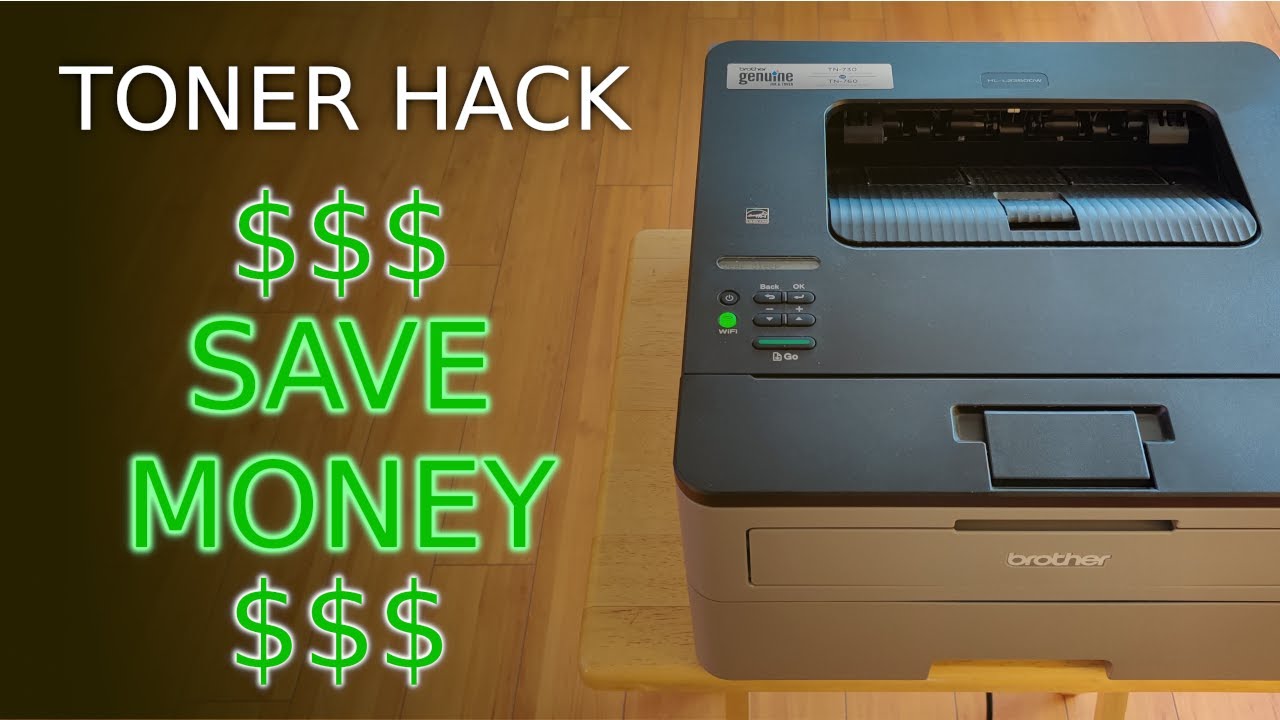
Chris Asipyan
Prying the factory microchip off an original cartridge and mounting it onto an aftermarket replacement defeats manufacturer lockouts to restore full supply readings.
AI-assisted summary of Brother Printer Genuine Toner Fix - Use Any Toner — original source. Check the original for full context.
Source published:
Key ideas
- Brother printers enforce OEM cartridge purchasing by embedding microchips that detect and block third-party toners. (0:00)
- Swapping the genuine microchip from a depleted starter cartridge into an aftermarket unit cleanly bypasses the manufacturer lock-out. (1:25)
- Two-pack third-party Linkyo cartridges cost roughly $25, compared to $45 to $85 for a single OEM Brother TN-730 or TN-760 cartridge. (0:00)
- The OEM starter cartridge locked out printing after only 417 total pages, following an initial low-toner alert at 358 pages. (5:18)
Detailed notes
## Background This tutorial was published on YouTube by Chris Asipyan on July 21, 2020. The video description details a workaround hack to bypass manufacturer microchip restrictions on Brother printers (specifically the HL-L2350DW) to use affordable third-party toner, while cautioning viewers that the procedure will void the warranty.
## TL;DR Frustrated by genuine Brother toner replacements costing almost as much as the printer itself, Chris demonstrates how to bypass the built-in microchip lockout system. He purchases an inexpensive two-pack of Linkyo third-party toner cartridges for about $25, then carefully removes the authentic OEM microchip from the depleted starter cartridge using a blade and screwdriver. After transferring the genuine chip into the replacement cartridge and reinserting the assembly into the drum, he runs an internal diagnostic test print. The printer successfully accepts the aftermarket cartridge as genuine, showing 100% toner capacity and producing sharp, high-quality test prints.
## Atmosphere & style The presentation carries a pragmatic, resourceful DIY tone that feels empowering for consumers fed up with aggressive printer industry lockouts. Chris provides methodical, calm, and hands-on guidance, speaking in an unpretentious, accessible manner while navigating delicate physical components. There is a palpable sense of triumph and relief when the machine boots up without errors and prints a crisp diagnostic sheet, validating the clever physical workaround.
## Bulletin - [00:00](https://www.youtube.com/watch?v=NzaRVEzYuz8&t=0s) Brother printers enforce OEM cartridge purchasing by embedding microchips that detect and block third-party toners. - [01:25](https://www.youtube.com/watch?v=NzaRVEzYuz8&t=85s) Swapping the genuine microchip from a depleted starter cartridge into an aftermarket unit cleanly bypasses the manufacturer lock-out. - [00:00](https://www.youtube.com/watch?v=NzaRVEzYuz8&t=0s) Two-pack third-party Linkyo cartridges cost roughly $25, compared to $45 to $85 for a single OEM Brother TN-730 or TN-760 cartridge. - [05:18](https://www.youtube.com/watch?v=NzaRVEzYuz8&t=318s) The OEM starter cartridge locked out printing after only 417 total pages, following an initial low-toner alert at 358 pages.
## Key takeaways - [00:00](https://www.youtube.com/watch?v=NzaRVEzYuz8&t=0s) OEM toner replacements for the Brother HL-L2350DW cost between $45 and $85, rapidly exceeding the machine's initial purchase price of around $100. - [00:00](https://www.youtube.com/watch?v=NzaRVEzYuz8&t=0s) Manufacturers embed microchips in cartridges primarily to detect non-genuine supplies and prevent third-party toners from functioning. - [00:00](https://www.youtube.com/watch?v=NzaRVEzYuz8&t=0s) Third-party alternatives, such as Linkyo two-packs for around $25, offer massive cost savings over genuine TN-730 and TN-760 cartridges. - Using this microchip transfer workaround to enable third-party toner will void the printer's warranty. - [01:45](https://www.youtube.com/watch?v=NzaRVEzYuz8&t=105s) The toner cartridge must be separated from the drum carriage by engaging the green release tab before working on the chip. - [01:45](https://www.youtube.com/watch?v=NzaRVEzYuz8&t=105s) Protective gloves should be worn when handling cartridge microchips to prevent skin oils from damaging electronic contacts. - [01:45](https://www.youtube.com/watch?v=NzaRVEzYuz8&t=105s) The OEM microchip is glued in place and requires careful prying with a razor blade and small flathead screwdriver. - [01:45](https://www.youtube.com/watch?v=NzaRVEzYuz8&t=105s) The Linkyo replacement cartridge includes a dummy chip that pushes out easily from the inside without requiring prying. - [05:18](https://www.youtube.com/watch?v=NzaRVEzYuz8&t=318s) Before installing the modified cartridge, it must be gently rocked side to side to evenly distribute internal toner powder. - [05:18](https://www.youtube.com/watch?v=NzaRVEzYuz8&t=318s) The exposed developer roller must not be touched when removing the protective cover and seating the cartridge into the drum. - [05:18](https://www.youtube.com/watch?v=NzaRVEzYuz8&t=318s) Following installation, the Brother HL-L2350DW recognizes the swapped chip and displays a 'Ready' status. - [05:18](https://www.youtube.com/watch?v=NzaRVEzYuz8&t=318s) A test print report confirmed crisp print quality and showed toner and drum levels resetting to roughly 100%. - [05:18](https://www.youtube.com/watch?v=NzaRVEzYuz8&t=318s) Factory starter toner logs revealed an initial low-toner warning at page 358 and a mandatory cutoff lock-out at page 417.
## Detailed walkthrough ### [00:00](https://www.youtube.com/watch?v=NzaRVEzYuz8&t=0s) OEM Toner Costs and the Third-Party Chip Problem
Chris Asipyan introduces a workaround for replacing the toner cartridge in a Brother laser printer. After checking online for replacement supplies, he found that the printer takes either a TN-730 or a TN-760 cartridge. The genuine Brother toner prices ranged anywhere from $45 to $85. Considering the printer itself cost only a little over $100 brand-new, Chris balks at the ongoing expense: “So what these printer companies have started doing is they've been putting chips inside the toners uh little microchips that allow them to detect that you're using a non-genuine brother toner and it'll basically not accept the toner you put inside.” If left unchecked, buying OEM supplies quickly outpaces the hardware's purchase price over time.
To counter this, he purchased a third-party replacement from Linkyo on Amazon. For around $25, the package came as a two-pack of toners, representing substantial savings compared to a single genuine unit. However, because modern printer manufacturers embed microchips onto their cartridges to lock out aftermarket consumables, the third-party cartridge cannot simply be dropped in as-is. Chris explains his strategy: he will harvest the authentic Brother microchip from the original starter toner that shipped with the machine and transfer it into the Linkyo cartridge to deceive the printer into believing an authentic OEM cartridge is running.
- **Printer model**: Brother HL-L2350DW - **OEM cartridge specifications**: TN-730 (standard yield) or TN-760 (high yield), priced between $45 and $85 - **Printer cost**: Slightly over $100 - **Third-party alternative**: Linkyo 2-pack purchased on Amazon for roughly $25
[01:45](https://www.youtube.com/watch?v=NzaRVEzYuz8&t=105s) Disassembling the Drum and Swapping the Microchip
```mermaid flowchart TD accTitle: Chip Transfer Process accDescr: Step-by-step diagram showing how the OEM chip is moved to the Linkyo aftermarket toner cartridge. subgraph OEM_Toner["Genuine Brother Cartridge"] A["Pull OEM Toner & Drum Assembly"] --> B["Press Green Tab to Release Cartridge"] B --> C["Pry Out Glued OEM Microchip with Blade/Screwdriver"] end subgraph Linkyo_Toner["Linkyo Replacement Cartridge"] D["Slide Out Linkyo Dummy Chip from Inside"] E["Slide Genuine OEM Chip into Slot"] F["Gently Shake Side to Side"] G["Remove Protective Cover & Seat into Drum"] end C --> E D -.->|Discard dummy| E E --> F --> G ```
Chris opens the printer's front compartment by pulling the two tabs located on the sides and gently extracts the entire internal assembly by its green grab area. The unit removed consists of both the toner cartridge and the imaging drum assembly. To separate them, he presses down firmly on the green release lever on the drum carriage, which pops the toner cartridge free. Comparing the original Brother toner alongside the new Linkyo replacement, the chip bays are located in the identical spot on both housings.
Before handling the electronics, Chris puts on protective gloves, warning viewers that skin oils can harm the sensitive microchip contacts: “All right so it's not a good idea to touch this with your hands with your fingers because the oils in your skin might might damage the chip here so just wear some spandex gloves like i'm doing.”
The OEM chip extraction requires careful physical leverage: - He slips a razor blade underneath the genuine chip to begin separating it from the cartridge plastic. - Once slightly lifted, he switches to a flathead screwdriver to gently pry and pop the chip free from the factory glue securing it beneath. - Moving to the Linkyo cartridge, no prying is necessary; he simply pushes its dummy chip outward from the inside edge, allowing it to slide out smoothly. - He then takes the genuine Brother microchip and slides it directly into the mounting slot on the Linkyo cartridge until seated.
[05:18](https://www.youtube.com/watch?v=NzaRVEzYuz8&t=318s) Reassembly, Test Printing, and Page Yield Results
With the genuine chip firmly in place, Chris preps the Linkyo unit for installation. He gently rocks and rotates the cartridge from side to side to distribute the internal toner powder evenly. He then removes the plastic protective roller cover, warning never to touch the exposed developer roller. He aligns the cartridge with the drum unit guides, sets it into position, and presses down until it snaps in with a tactile click. The combined toner and drum assembly is then slid back into the printer chassis until fully seated, and the access door is shut.
Upon powering on the printer, the unit cycles with three distinct mechanical clicks before coming to a stop and showing `Ready` on the LCD panel. Chris navigates the printer's on-screen menu to verify status:
1. Press the down arrow repeatedly until reaching **Print Reports**, then press **OK**. 2. Scroll past WLAN Report, Drum Dot Print, and Network Config to highlight **Printer Settings**. 3. Press **OK** and then hit the **Go** button to execute the test print.
``` +-------------------------------------------------------+ | Brother HL-L2350DW Test Report Metrics | +-------------------------------------------------------+ | Print Quality: Crisp, dark, no visible defects | | Drum Unit Life Reported: ~100% | | Toner Cartridge Level: ~100% | | OEM Starter Toner Low Warning: Page 358 | | OEM Starter Mandatory Replace Cutoff: Page 417 | +-------------------------------------------------------+ ```
Examining the printed sheet, the printout is dark and crisp. The printer interprets the swapped chip as completely functional: “Here it says drum unit and toner cartridge are at one hundred percent pretty much so that's great it thinks that everything is good.” The printed error log shows that the starter toner triggered a "Toner Low" alert at approximately 358 pages and completely locked the printer from further printing at 417 pages. Chris notes he is eager to see how many more pages this high-yield third-party cartridge will deliver in comparison, confirming that the simple physical chip swap cleanly defeats the manufacturer lock-out.
## Mentioned Chris Asipyan, Brother, Brother HL-L2350DW, TN-730, TN-760, Linkyo, Amazon
## Video description Don't give into the printer manufacturing companies bad practices. Use this simple hack to trick your printer into using 3rd party toners. However, doing this will void your warranty. My printer model is: HL-L2350DW
New Model Linkyo Toner: https://amzn.to/3S8R9tZ
New Model Printer: https://amzn.to/3yNmPhQ
Some of the links above are affiliate links, meaning, at no additional cost to you, I will earn a commission if you click through and make a purchase, thank you for your support.
Thanks for watching! Please support my channel by subscribing and enjoying more helpful videos like this.
[Source](https://www.youtube.com/watch?v=NzaRVEzYuz8)